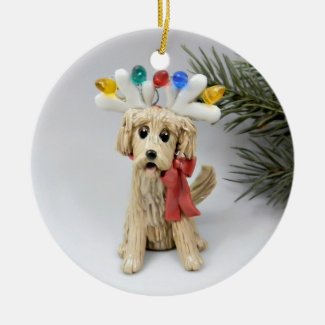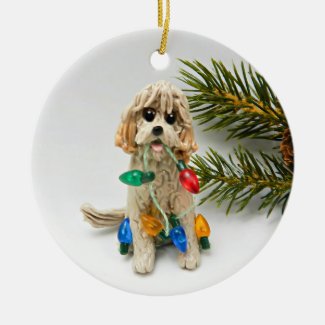
Retired from making ornaments, but still volunteering to make our pet lives better!
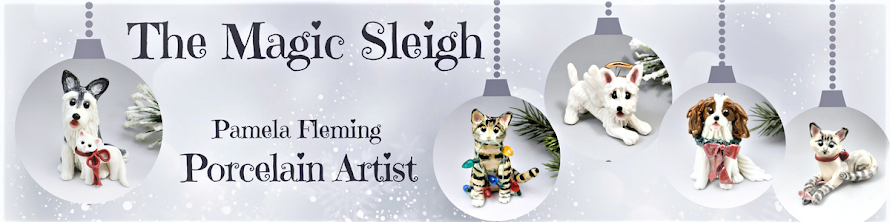
Thank you for many years of support for my art.
My designs may be still found in my zazzle shop.
- "Christmas is not a time nor a season, but a state of mind." — Calvin Coolidge